Of course. Here is my configuration:
- auth.seatable.io is my IdP
- support.seatable.io is my Zammad-System
Configuration in Authentik
In Authentik I created a SAML Provider:
- ACS URL: https://support.seatable.io/auth/saml/callback
- Issuer: https://support.seatable.io/auth/saml/metadata
- Service Provider Binding: Post
- Audience: https://support.seatable.io/auth/saml/metadata
- (Advanced Settings) Signing Certificate: select one
- (Advanced Settings) Verification Certificate: empty
- (Advanced Settings) Property mappings: I added two custom mappings: “email” and “name”
- (Advanced Settings) NameID Property Mapping: Zammad
– email and name are defined in “Customisation → Property Mappings → SAML Property Mapping”

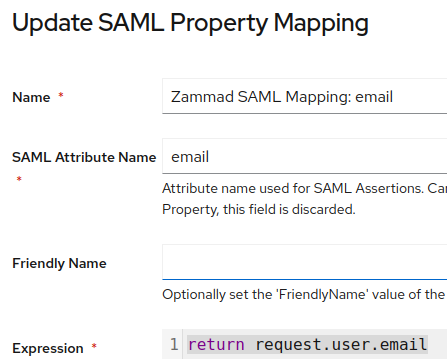
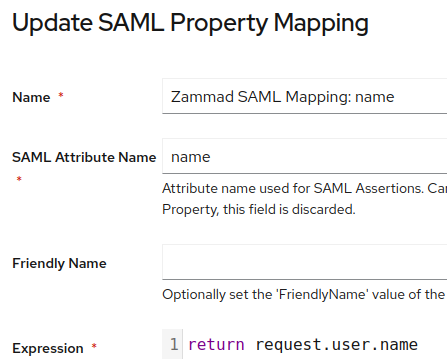
These custom mappings are necessary because Zammad expects the values name and email as described here: SAML — Zammad Admin Documentation documentation.
Configuration in Zammad is simple:
- IDP SSO Ziel-URL: https://auth.seatable.io/application/saml/ticketsystem-seatable/sso/binding/init/
- IDP-Zertifikat: ----BEGIN CERTIFICATE---- …
Finterprint: empty
NAME IDENTIFIER FORMAT: empty
Callback URL: https://support.seatable.io/auth/saml/callback
URL to start SSO from authentik
as target url inside “authentik-application” I don’t use https://support.seatable.io. Otherwise the users have to click again on the button “Login with SAML”. To jump right into SSO, just use as target URL authentik url.
I hope this helps.
Christoph